

Home & Garden

Caulking, Weatherstripping, and Draft-Proofing: A Room-by-Room Sealing Checklist

Share
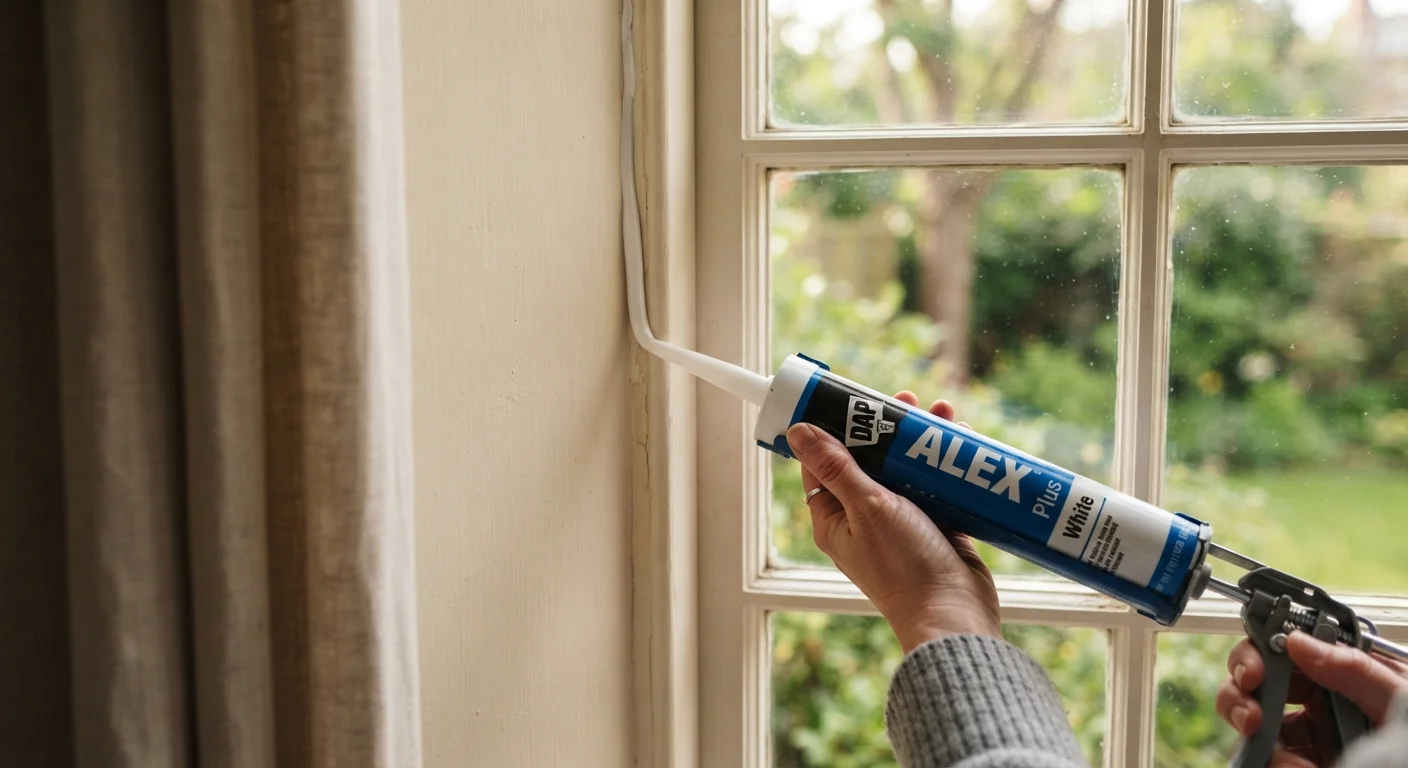
Homeowner applying caulk along the interior edge of a window frame in a bright room

Key Takeaways

Air leaks around windows, doors, and utility penetrations are among the most common sources of wasted heating and cooling energy.
Caulk works best on stationary gaps; weatherstripping is the right choice for moving parts like doors and operable windows.
A systematic room-by-room approach helps you catch gaps that a quick walk-through would miss.
Most sealing tasks require only basic tools and materials available at any hardware store.
Some areas, such as around gas lines or electrical panels, should be left to licensed professionals.
90–240 min

Summary

32 items · 1.5 to 4 hours depending on home size

Why air sealing is worth your time

Small gaps around windows, doors, and pipe penetrations add up fast. The U.S. Department of Energy estimates that air leaks account for a significant share of heating and cooling loss in a typical home. Sealing those gaps yourself costs far less than upgrading insulation or replacing appliances, and the materials are simple: caulk, weatherstripping, foam backer rod, and door sweeps.

The checklist below moves room by room so nothing gets skipped. Work through each space with a lit incense stick or a damp hand on cool days to feel for cold air moving through gaps. Mark problem spots with painter's tape before you start sealing, so you have a clear map to work from.

Do not seal around combustion appliances yourself

Never caulk or foam around flue pipes, chimneys, wood-burning inserts, or recessed lights that are not rated for insulation contact. These areas require fire-rated materials and specific clearances. Improper sealing near combustion equipment can restrict airflow or cause a fire. Have a licensed HVAC technician or chimney professional handle any sealing in those zones.

Two material choices cover most situations. Caulk (silicone or paintable acrylic latex) suits gaps that do not move, such as the joint between a window frame and siding, or where a pipe exits a wall. Weatherstripping suits gaps on moving parts: door edges, operable window sashes, and attic hatches. Using the wrong material in the wrong place means the seal will fail within a season.

What you will need

Required

Caulk gun and caulk tubes

Applies caulk in a controlled bead along stationary gaps at window frames, pipe penetrations, and foundation joints.

Required

Silicone or paintable acrylic latex caulk

Fills and seals non-moving gaps; silicone works well on exterior surfaces while acrylic latex is easier to paint indoors.

Required

Foam weatherstripping tape

Compresses to form a seal around door stops, attic hatches, and window sashes.

Required

V-strip (tension-seal) weatherstripping

Fits into window sash channels and door edges where a durable, low-profile seal is needed.

Required

Door sweep or door bottom seal

Closes the gap between the bottom of a door and the threshold to block drafts and insects.

Required

Expanding foam sealant (low-expansion)

Fills larger or irregular gaps around pipes and the sill plate area where caulk would be too thin.

Required

Outlet gaskets (foam insulation pads)

Slip behind outlet and switch-plate covers on exterior walls to block air movement through the electrical box.

Required

Utility knife and caulk removal tool

Removes old, cracked caulk before applying a fresh bead so the new seal bonds properly.

Room-by-room sealing checklist

Go through each group in order. Check off items as you find and fix them. Items marked must are the highest priority; skipping them will leave the biggest leaks open.

Exterior doors

Test the door sweep by sliding a piece of paper under a closed door; replace the sweep if it slides freely. Must
Press weatherstripping along the full door stop (top and both sides) so the seal compresses evenly when the door closes. Must
Caulk the exterior joint where the door frame meets the siding or brick mold. Must
Check the threshold plate for cracks or gaps and replace it if the gasket is worn flat. Should
Add a draft snake or door bottom seal to any door that shows visible light under it when closed. Should

Windows (every room)

Caulk the interior joint between the window frame and the interior trim on all four sides. Must
Caulk the exterior joint between the window frame and the siding or exterior trim. Must
Replace any cracked or missing glazing compound (putty) on single-pane windows. Must
Press foam or V-strip weatherstripping into the sash channel of double-hung windows so the sash closes tightly. Should
Install a window insulator film kit on windows in unheated or rarely used rooms for the winter months. Nice to have

Kitchen

Caulk around the pipe under the kitchen sink where it passes through the cabinet floor or wall. Must
Seal the gap behind the dishwasher where the water supply and drain lines enter the wall. Should
Check the exhaust fan duct where it exits through the wall or ceiling and seal any gap with foil tape rated for HVAC use. Should
Caulk the counter-to-backsplash joint if it has opened up, to block conditioned air escaping behind the wall cavity. Nice to have

Bathrooms

Caulk around every pipe penetration at the wall or floor: toilet supply, vanity supply and drain, tub spout, and shower valves. Must
Seal the exhaust fan housing to the ceiling with caulk if a gap is visible around its edge. Should
Re-caulk the tub-to-wall and tub-to-floor joints if the existing caulk has cracked, separated, or gone moldy. Should

Attic hatch and interior doors

Glue foam weatherstripping to the attic hatch stop so the hatch seals tightly when closed. Must
Add rigid foam board insulation to the top of the attic hatch panel if it is uninsulated. Must
Check the door between living space and an attached garage: weatherstrip it fully and confirm it closes with a solid, even seal. Must
Add door sweeps to interior doors separating heated and unheated spaces (garage, basement, storage rooms). Should

Basement and crawl space

Seal gaps where wiring, plumbing, and ducts penetrate the sill plate area using foam sealant or caulk. Must
Caulk the joint between the sill plate and the foundation wall if you can see daylight or feel air movement. Must
Seal around any basement window frames with exterior-grade caulk and check for cracked glass. Should
Install foam gaskets behind outlet and switch-plate covers on exterior walls throughout the house. Should
Cover a crawl space vent or access door with rigid foam board in winter if your climate calls for conditioned crawl space management. Nice to have

Utility and mechanical areas

Seal around the dryer vent where it passes through the exterior wall, using exterior caulk on the outside. Must
Check the damper on the dryer vent hood; replace it if the flap does not close freely when the dryer is off. Must
Seal around any plumbing or electrical lines entering from the garage into living space with expanding foam rated for the gap size. Should
Do not seal flue pipes, chimney chases, or any surface rated as a clearance-to-combustibles zone: leave these for a licensed HVAC technician or chimney specialist. Must

A few things to leave to the pros

Most sealing work is genuinely DIY-friendly, but a few situations call for a licensed contractor or specialist. Do not caulk around flue pipes, chimneys, or recessed light fixtures that are not rated for insulation contact: those areas need high-temperature or fire-rated materials, and improper sealing can create a fire hazard. Any penetration that passes through a gas line, electrical panel, or load-bearing assembly should be evaluated by a professional before you attempt to seal it.

If you suspect larger air movement through an uninsulated attic floor or crawl space, a professional energy audit with a blower-door test will locate leaks you cannot find by hand and give you a ranked list of repairs by impact. Many utility companies offer these audits at low or no cost.

This article is for general informational purposes only. Always verify local building codes and permit requirements before undertaking home improvement work, and consult a licensed professional for any task involving gas, electrical, structural, or fire-rated assemblies.

Home & Garden Editorial Team is the collective byline for our editorial team and contributor network. Articles published under this byline or an editorial pen name are researched, written, and reviewed according to our editorial standards for clarity, consistency, and independence before publication.

View all articles by Home & Garden Editorial Team →
Disclaimer: The content provided on our blog site traverses numerous categories, offering readers valuable and practical information. Readers can use the editorial team’s research and data to gain more insights into their topics of interest. However, they are requested not to treat the articles as conclusive. The website team cannot be held responsible for differences in data or inaccuracies found across other platforms. Please also note that the site might also miss out on various schemes and offers available that the readers may find more beneficial than the ones we cover.