

Automotive

Before You Drive Off the Lot: A Used Car Inspection Walkthrough

Share
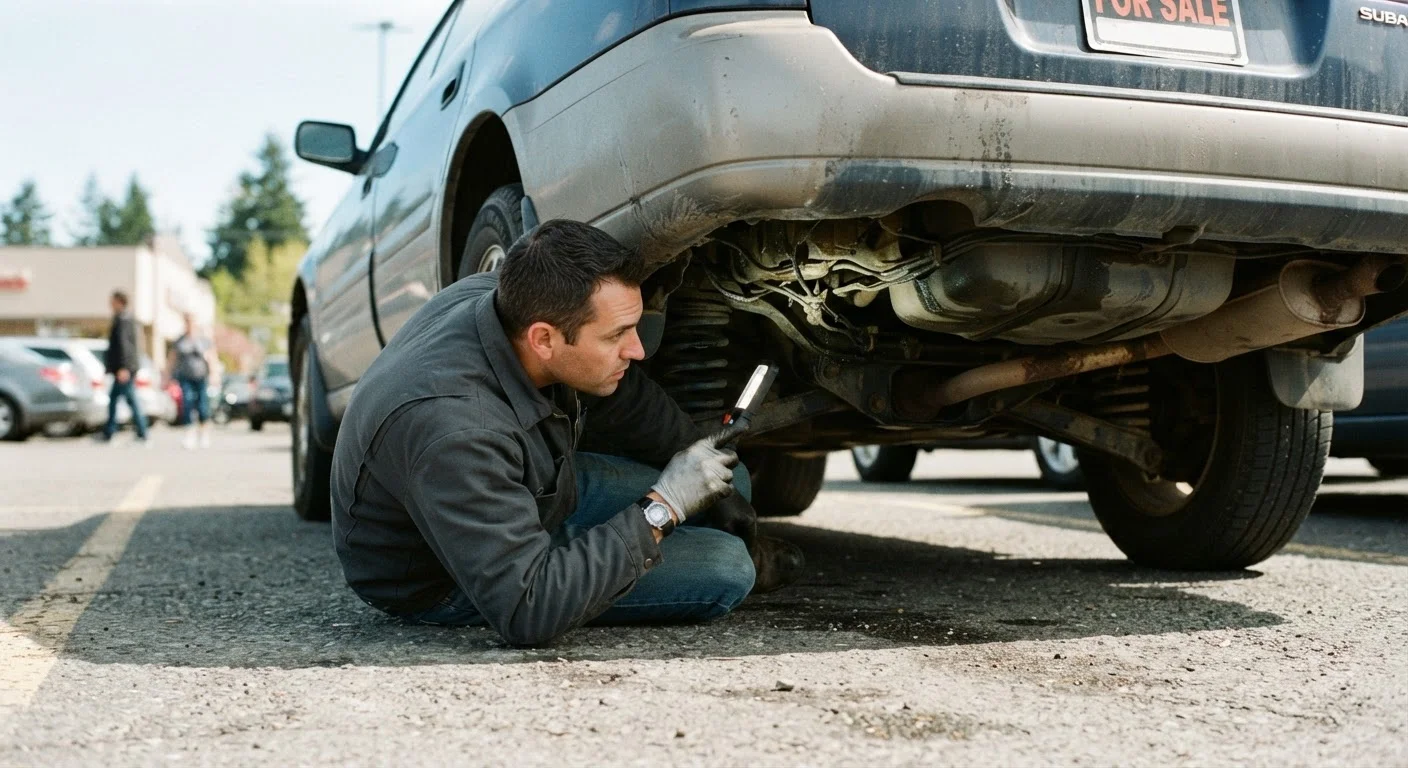
Person crouching beside a used car in a parking lot, shining a flashlight underneath the vehicle during a pre-purchase inspection

Key Takeaways

A pre-purchase inspection covers body, engine bay, interior, tires, and a test drive.
Rust, fluid leaks, and mismatched paint are the most common red flags on used vehicles.
A licensed mechanic inspection typically costs $100 to $150 and can reveal hidden problems.
Warning lights visible during the test drive are a serious signal, not a minor inconvenience.
Tire condition can tell you a lot about how the previous owner maintained the vehicle.
45–90 min

Summary

28 items · 45 to 90 minutes on-site

Why a structured walkthrough matters

Buying a used car without a structured inspection is one of the most common ways families absorb unexpected repair costs in the first year of ownership. The seller is not obligated to disclose every defect, and a quick visual scan of the lot rarely catches the problems that cost real money. A methodical walkthrough changes that.

This checklist covers five areas: exterior body condition, under the hood, interior and electronics, tires and wheels, and the test drive. Work through each category in order so nothing gets skipped under pressure. Bring a flashlight, wear clothes you can crouch in, and allow at least 45 minutes on-site. If a seller resists giving you that time, treat the resistance as information.

For context on what protections a used vehicle purchase does and does not include, see what families should weigh when choosing used vs. CPO.

Tools and preparation

You do not need a mechanic's toolkit for this walkthrough, but a few items sharpen what you can see.

Required

Flashlight

Illuminates wheel wells, the underside of the vehicle, and dark areas of the engine bay where leaks and rust hide.

Required

Tread depth gauge

Measures remaining tire tread precisely; a US quarter coin works as a backup method.

Required

Vehicle history report (VIN-based)

Documents title status, accident reports, odometer readings, and total-loss designations tied to the specific vehicle.

Optional

OBD-II scanner

Reads stored fault codes from the vehicle's onboard diagnostics port; catches codes a seller may have cleared before the showing.

Required

Notepad or phone notes app

Records findings from each inspection category so you have documentation for negotiation or the mechanic's review.

Pull a vehicle history report using the 17-character VIN (Vehicle Identification Number) before the appointment. The VIN is printed on the dashboard near the windshield and on the driver's-side door jamb. History reports document title status, reported accidents, odometer readings at each transfer, and whether the vehicle was ever declared a total loss by an insurer. No history report replaces a physical inspection, but it tells you whether the car's past matches the seller's story.

The inspection checklist

Work through each group below in sequence. Check off items as you go so you have a written record for negotiation or to share with a mechanic.

Exterior body condition

Walk around the car in full daylight and look along each panel from a low angle to spot waves or ripples that indicate filler (body filler is used to smooth over dents and collision damage). Must
Check panel gaps between the doors, hood, trunk, and fenders: uneven gaps on one side versus the other suggest the frame or body was repaired after a collision. Must
Look for mismatched paint color or texture between adjacent panels, which can indicate a repaint after accident damage even if the history report shows no incident. Must
Inspect the wheel wells, rocker panels (the strips running beneath each door), and the underside of the vehicle with a flashlight for rust, particularly in the structural areas around the frame rails. Must
Check that all doors, the hood, and the trunk open and close cleanly without sticking or requiring force. Should

Under the hood

Check each fluid: engine oil should be amber to dark brown without a milky appearance (milky oil can indicate a head gasket leak mixing coolant into oil); coolant should be green, orange, or pink, not brown or rusty. Must
Look at the engine bay for fresh oil residue or coolant staining on hoses, the block, or the firewall, which points to active leaks. Must
Start the engine cold if possible and listen for knocking, ticking, or rattling for the first 30 seconds, when lubrication issues are most audible. Must
Check that the VIN on the dashboard and door jamb matches the number stamped on the engine block or visible on the firewall. Should
Look for signs of a recent quick clean (overly spotless engine bay with no dust anywhere) that might be concealing leaks. Nice to have

Interior and electronics

Sit in the driver's seat and confirm every warning light on the instrument cluster turns on with the key and then clears within a few seconds of starting: a light that stays on is an active fault code. Must
Test all power windows, door locks, mirrors, and the air conditioning on both heat and cool settings. Must
Check the upholstery and carpet for water staining or a musty smell, which can point to a leaking sunroof drain, a windshield seal failure, or flood history. Must
Inspect the trunk floor and spare-tire well for rust, water pooling, or staining. Should
Test the infotainment system, backup camera, and Bluetooth if present, since these are disproportionately expensive to repair after purchase. Should

Tires and wheels

Check tread depth on all four tires using a quarter: if the top of Washington's head is visible when inserted into the tread groove, the tire has less than 4/32 inch of tread and replacement is coming soon. Must
Confirm all four tires are the same brand and size: mismatched tires can indicate deferred maintenance or that the vehicle has been driven in an accident or adverse conditions. Should
Inspect wheel rims for deep curb rash or bends that suggest aggressive driving habits. Should

Test drive signals

Drive on both city streets and at highway speeds: listen for vibrations, pulling to one side, or brake pulsing (a pulsing sensation in the pedal under braking suggests warped rotors). Must
Test the brakes at a moderate speed in a safe area and note whether the car stops straight and the pedal feels firm. Must
Accelerate through the full RPM range in a safe location and listen for hesitation, misfires, or excessive exhaust smoke on acceleration. Must
Turn the steering wheel to full lock in both directions in a parking lot to listen for clicking from the CV joints (a clicking sound at full steering lock is a common sign of CV axle wear). Should
After the drive, park and let the engine idle for three minutes, then check underneath for any fresh fluid drips on the pavement. Should

Always schedule a mechanic inspection before signing

Your walkthrough identifies visible red flags, but a licensed mechanic with a hoist can inspect components you cannot see safely. This is particularly important for any vehicle priced under $10,000, where deferred maintenance is most common. Budget $100 to $150 for the inspection; most independent shops offer this service.

Tire wear patterns reveal more than tread depth alone. Cupping or scalloping across the tread suggests worn shocks or struts. Heavy wear on one shoulder suggests an alignment problem. Both conditions carry repair costs beyond just replacing tires. For a full breakdown of what tire condition signals, see tire care basics every driver should know.

After the test drive, note any warning lights that appeared and cross-reference them before deciding. What your car's warning lights are actually telling you explains which ones demand immediate attention.

When to walk away and what to do next

Not every defect is a deal-breaker. Minor cosmetic wear on a high-mileage vehicle is expected. What matters is whether the problems you find are consistent with the asking price and the seller's description. Major rust on structural components, evidence of undisclosed flood damage, a salvage title, or a seller who refuses a mechanic inspection are legitimate reasons to walk.

If the vehicle passes your walkthrough, schedule a pre-purchase inspection with an independent mechanic before signing anything. A mechanic can lift the vehicle on a hoist, check brake thickness, inspect the CV axles (the shafts that transfer power to the front wheels), and scan for stored fault codes the seller may have cleared. The inspection typically costs $100 to $150 and can surface issues worth many times that amount.

Once you own the vehicle, the decisions you make in the first few months set the pattern for long-term reliability. Stretching a car's life to 200,000 miles covers the maintenance habits that make the difference. And before you commit to the full cost of ownership, review the true cost of car ownership beyond the monthly payment so insurance, fuel, and maintenance are built into your budget from day one.

This article is for general informational purposes. Vehicle condition and repair costs vary widely. Consult a licensed mechanic for a professional assessment before purchasing any used vehicle.

Automotive Editorial Team is the collective byline for our editorial team and contributor network. Articles published under this byline or an editorial pen name are researched, written, and reviewed according to our editorial standards for clarity, consistency, and independence before publication.

View all articles by Automotive Editorial Team →
Disclaimer: The content provided on our blog site traverses numerous categories, offering readers valuable and practical information. Readers can use the editorial team’s research and data to gain more insights into their topics of interest. However, they are requested not to treat the articles as conclusive. The website team cannot be held responsible for differences in data or inaccuracies found across other platforms. Please also note that the site might also miss out on various schemes and offers available that the readers may find more beneficial than the ones we cover.